
Subfloor Preparation for Hardwood Floors: Essential Steps for a Flawless Installation
Subfloor Preparation for Hardwood Floors: Essential Steps for a Flawless Installation
Before laying down hardwood flooring, it's crucial to ensure that the subfloor is properly prepared. Ensuring thorough preparation supports the longevity, performance, and appearance of the flooring. A well-prepared subfloor helps to prevent issues such as creaking, misalignment, and damage to the wood planks. It's a foundational step in flooring installation that cannot be overlooked if you seek a smooth, durable finish.
Subfloor preparation typically involves cleaning, levelling, and stabilization. It requires attention to detail, as even minor imperfections can lead to significant problems once the hardwood is installed. Subfloors need to be clean, dry, structurally sound, and levelled to provide an optimal base for hardwood floors. Using the right materials and tools is also essential to accommodate the specific type of hardwood and the chosen method of installation, be it nail-down, glue-down, or floating.
Key Takeaways
Proper subfloor preparation is essential for a successful hardwood floor installation.
A level, clean, dry, and stable subfloor will support hardwood longevity and performance.
Using the correct preparation techniques and materials ensures the flooring is structurally sound.
🔨Transform your space with Regal Hardwood Flooring - Let us bring beauty and elegance to your home. 🪚
Request Your Free Estimate Today! 📋
Understanding Subfloor Requirements
Prior to hardwood floor installation, it is paramount that we ensure the subfloor meets specific structural, moisture, and level criteria. Failure to properly prepare the subfloor can lead to a compromised flooring system. Here, we detail the processes to assess and address these critical areas.
Identifying Structural Issues
First, we check the subfloor's structural integrity. This involves assessing joist spacing and verifying that it accommodates the type of hardwood floor planned. For joists spaced 406 mm (16 inches) or less, the minimum recommended panel thickness is 15.88 mm (5/8-inch) plywood or 18.26 mm (23/32-inch) OSB. Should the existing subfloor not meet the National Wood Flooring Association (NWFA) guidelines, an additional overlay of 12.7 mm (1/2-inch) plywood may be necessary or alternatively, reinforcement from below could be required.
Moisture Testing Protocols
Moisture testing is a crucial step in preparing a subfloor. We perform this test to ensure moisture levels are within acceptable ranges, using a reliable moisture meter. For wood subfloors, the moisture content typically should not exceed 12%. Concrete subfloors require a calcium chloride test, aiming for a maximum of 2.7 kg/100sq ft/24hrs. Adhering to these moisture parameters is essential to prevent wood floor warping, cupping, or gapping post-installation.
Surface Leveling Fundamentals
Lastly, ensuring the subfloor is level is critical. We adhere to the standards which require the subfloor to be within 6.35 mm (1/4 inch) in 3.05 metres (10 feet) or 4.76 mm (3/16 inch) in 1.83 metres (6 feet) for installations with mechanical fasteners 38 mm (1 1/2 inches) or longer. For glue-down installations or those with shorter mechanical fasteners, we aim for a subfloor that is within 4.76 mm (3/16 inch) in 3.05 metres (10 feet) or 3.18 mm (1/8 inch) in 1.83 metres (6 feet). Any deviations call for subfloor adjustments, which might include sanding high spots or using a self-leveling compound for low areas.
Adhering to these standards ensures a durable and resilient hardwood flooring that stands the test of time.
Materials and Tools for Preparation

Before we begin, it's crucial to understand that the longevity and stability of hardwood floors largely hinge on a properly prepared subfloor. Ensuring that our subfloor is flat, clean, and structurally sound will pave the way for a successful installation.
Choosing the Right Materials
For optimal results, selecting appropriate materials for subfloor preparation is a step we cannot afford to overlook. Here's a concise guide to help us make informed choices:
Plywood or OSB (Oriented Strand Board): These are commonly used as the base layer for hardwood flooring. Ensure they are of the correct thickness, typically at least 5/8" for plywood and 23/32" for OSB panels.
Leveling Compound: If there are minor discrepancies in the flatness of our subfloor, a self-levelling compound can be used to even out the surface.
Adhesive Remover: Necessary for cleaning off old adhesives that may interfere with the installation.
Essential Tools for Subfloor Work
Equipping ourselves with the right tools can significantly streamline the preparation process. Let's look at what we'll need:
Pry bar and Hammer: For the removal of any existing flooring, baseboards, or trim.
Moisture Meter: We must assess the moisture content of our subfloor to prevent future warping or buckling of the hardwood.
Carpenter’s Level or Straightedge: Essential for checking flatness across the subfloor surface.
Sander or Sandpaper: Helps to smooth down any rough areas and ensures our subfloor is ready to receive the new flooring.
Vacuum Cleaner: To keep the work area free of debris and dust following sanding and prior to installation.
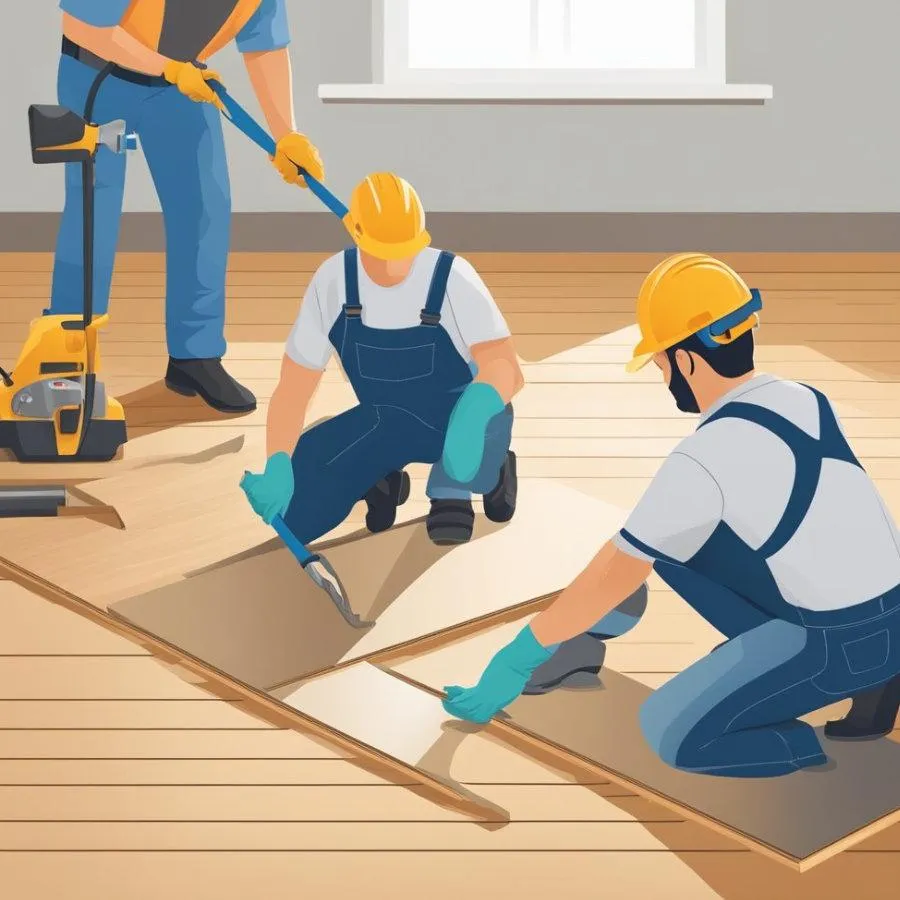
Step-by-Step Subfloor Preparation Process
Before installing hardwood floors, we need to ensure that our subfloor is in prime condition to support the new flooring. This is done by thorough cleaning, making necessary repairs and stabilizing the subfloor, and lastly by applying moisture barriers and underlayment where needed.
Cleaning the Subfloor
Firstly, we must remove any debris, dust, or existing flooring materials. It's imperative to start with a clean, flat surface. We conduct thorough moisture testing during this phase to ensure there are no underlying issues that could affect the hardwood flooring later on.
Sweep and vacuum the entire area to remove all loose particles.
If adhesive residue is present, we scrape it off.
Conduct a moisture test; relative humidity levels should be below 12%.
Repairing and Stabilizing
The next step in our process is to check the subfloor for any signs of damage or weakness. Our goal is to have a stable and level surface upon which to lay our hardwood floors.
Inspect for cracks or weak spots and apply filler or replace sections as necessary.
For minor leveling issues, we use a self-leveling compound. For more pronounced problems, additional subfloor material may be needed.
Ensure all screws and nails are flush with the subfloor to avoid protrusions.
Moisture Barriers and Underlayment
Our last step before installation involves defending against future moisture and providing a suitable foundation for the wood flooring. Selecting the right underlayment can prevent a multitude of issues down the line.
Install a moisture barrier if the subfloor shows susceptibility to dampness.
Roll out the underlayment material and trim to fit, ensuring there are no gaps or overlaps.
For concrete subfloors, a combination of moisture barrier and underlayment may be necessary.
Adhering to these precise steps will set the stage for a successful hardwood floor installation.
🔨Transform your space with Regal Hardwood Flooring - Let us bring beauty and elegance to your home. 🪚
Request Your Free Estimate Today! 📋
Addressing Common Subfloor Challenges
In preparing subfloors for hardwood flooring, we focus on creating a stable and level surface. We address specific challenges such as uneven areas and moisture control to ensure a successful installation.
Handling Uneven Areas
When encountering uneven areas in a wood subfloor, our primary goal is to achieve a level base for hardwood floor application. First, we identify and measure the variance between the highest and lowest points. If the difference exceeds 3/16 inch over a 10-foot span, action is required. For minor variances, we often use levelling compounds. In more severe cases, it may necessitate sanding down high spots or adding plywood to build up lower areas. Here's a brief step-by-step approach to manage uneven subfloors:
Locate uneven spots: Use a long straightedge or laser level to find discrepancies.
Measure the dips and rises: Quantify the difference to determine the extent of correction needed.
Sand or plane down high areas: If possible, reduce the high points to match the surrounding level.
Fill in low spots: Apply a self-levelling compound or additional subflooring material where needed.
Reassess the level: Check your work to ensure the subfloor is consistently level across the entire area.
Dealing with High Humidity Environments
For hardwood floors in high humidity environments, subfloor preparation is crucial to prevent moisture damage. We must ensure the subfloor is dry and maintain a stable moisture content. Our steps include:
Inspect for moisture issues: Check the subfloor for signs of moisture damage or high humidity.
Use a moisture barrier: In regions with high humidity, a moisture barrier between the subfloor and the hardwood is essential.
Apply a moisture meter: Regularly check the subfloor's moisture levels with a calibrated meter to ensure they remain within manufacturer recommendations.
Acclimatize hardwood planks: Allow the wood to acclimatize to the room's humidity level before installation to minimize expansion and contraction post-installation.
Ensuring that the subfloor is level and moisture controlled is key to the longevity and performance of your hardwood flooring. By following these steps and solutions, we set the groundwork for a successful installation.
Final Assessment and Quality Check
Before laying down hardwood floors, we need to make certain that our subfloor is faultless. The quality of the installation and the longevity of the floors depend on our meticulous final checks.
Thorough Inspection Before Installation
A thorough inspection of the subfloor is indispensable prior to installation. We must:
Visual Inspection: Carefully examine the subfloor for unevenness, cracks, or gaps. Any imperfections can affect the final result, as they may cause squeaking or uneven wear on the flooring.
Use of Tools: Employ a straightedge across the subfloor to identify any deviations. The subfloor must be level within 3/16” over a 10-foot radius to avoid issues post-installation.
Ensuring Longevity and Performance of Hardwood Floors
To ensure the longevity and performance of hardwood floors post-installation, we take several steps:
Moisture Check: Utilize a moisture meter to measure the moisture content in various locations of the subfloor. It's crucial that the levels are consistent with the hardwood manufacturer's recommendations.
Physical Stability: Verify that the subfloor is secured appropriately to the joists to prevent movement which can affect the stability and soundness of the installed hardwood floor.
Condition Check: Ensure that heating and air conditioning are operational, and that the building is properly enclosed. This setup represents real living conditions, contributing to accurate moisture readings and acclimatization of the hardwood.
By dedicating ourselves to a rigorous final assessment and quality check, we protect the integrity of our work and the durability of the hardwood floors.
Frequently Asked Questions
In preparing a subfloor for hardwood flooring, we focus on ensuring a flat, clean, and stable surface. This involves assessing and mitigating moisture issues, rectifying any unevenness, and choosing the appropriate underlayment. Below are some frequently asked questions that can help guide us through the process.
What is the preferred method for preparing a subfloor before installing hardwood floors?
We start by removing any existing flooring, along with doors, baseboards, and trim. Next, we ensure that the subfloor is flat and even. We inspect and clean the subfloor thoroughly, checking for structural integrity and moisture content. If necessary, we repair or install a new subfloor to create a solid base for the hardwood floors.
Are specific tools required for subfloor preparation when installing hardwood?
Yes, specific tools are required for an effective subfloor preparation. A moisture meter helps us assess moisture levels, while a straightedge or a level confirms flatness. Other tools may include sanders for smoothing, saws for cutting, and hammers and nails for securing the subfloor.
What type of underlayment is recommended for hardwood flooring over a wood subfloor?
For hardwood flooring over a wood subfloor, we recommend a quality underlayment that provides moisture protection and sound insulation. We often opt for heavy-duty felt or a similar product designed specifically for hardwood installation.
How do you ensure a subfloor is level and ready for hardwood floor installation?
We use a straightedge to identify high and low spots across the subfloor. For high spots, we sand down or plane the area. For low spots, we use a self-levelling compound or install shims. Ensuring a level subfloor is crucial for a successful hardwood flooring installation.
Is it necessary to put anything between the hardwood floor and the subfloor?
Yes, it's necessary to put an underlayment between the hardwood floor and the subfloor. The underlayment acts as a protective barrier, providing moisture protection, reducing sound transmission, and helping to smooth minor subfloor imperfections.
Can hardwood flooring be installed directly over an existing subfloor, or are additional steps necessary?
Hardwood flooring should not be installed directly over an existing subfloor without the proper preparation. Additional steps include making sure the subfloor is level, clean, and structurally sound. We may also need to install a new plywood layer or a suitable underlayment, depending on the condition of the current subfloor.


Proudly serving Central to Northern Alberta (including Edmonton, Sherwood Park, St. Albert, Spruce Grove, Stoney Plain, Leduc, Beaumont and Fort McMurray) for over 27 years.
© 2026 Regal Hardwood Flooring